Become a multitasking mask master in just three easy steps.

Although we tend to identify our skin as one overall type, it’s a pretty broad generalization. Inspect further and you’ll notice that each area of your face is different from the next. For example, your forehead might be prone to dryness, but the center of your face tends to be on the oily side.
The solution? Multi-masking. If you aren’t familiar, don’t know how, or simply haven’t tried the technique, yet, now’s a good time as any to start. Multi-masking allows you to customize your at-home facial to accommodate all of your skin’s needs in one fell swoop.
Here’s how to multi-mask:
1. IDENTIFY THE DIFFERENT ZONES ON YOUR FACE.
Most people tend to see two to four different “zones” on their faces. For example:
- FOREHEAD: Prone to dehydration (if you’re dry) or excess shine (if you’re oily)
- CHEEKS: Prone to dullness or uneven skin tone and texture
- CHIN: Prone to congestion/breakouts
- NOSE: Prone to excess oil & congestion
Take a few minutes to analyze your skin and map out each “zone.” If you’re not sure where to start, use our face mask map as a guideline!
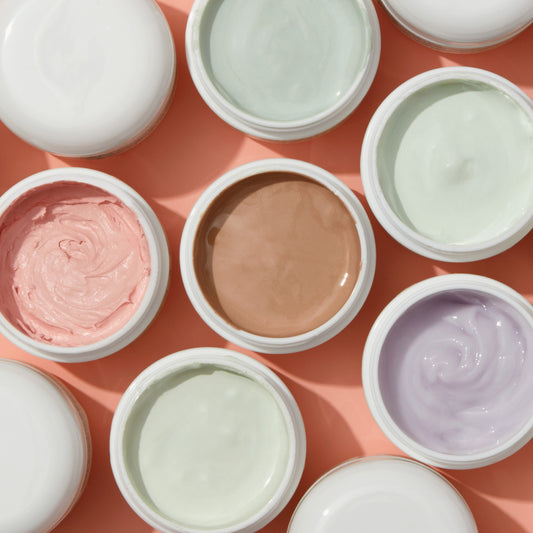
2. APPLY THE APPROPRIATE MASK TO EACH ZONE.
This is where you can get creative and completely customize your at-home facial! Start by washing your face (or gently exfoliating first), then get masking.
- FOR OILY AREAS, TRY: Cucumber Tonic Mask
- FOR CONGESTED AREAS, TRY: Silver Powder
- FOR BREAKOUTS, TRY: Drying Mask
- FOR DRY AREAS, TRY: Rose Hips Mask
- FOR DULL AREAS, TRY: Enzyme Revitalizing Mask
- FOR AREAS PRONE TO DEHYDRATION OR DRY LINES, TRY: Super Collagen Mask
- FOR NORMAL/COMBO AREAS, TRY: Flower & Tonic Mask
Be sure to apply the masks in a thin but opaque layer to ensure everything dries evenly. Let the masks work their magic for 8-10 minutes, then…
3. RINSE WELL AND ADMIRE YOUR MULTI-MASKING RESULTS!
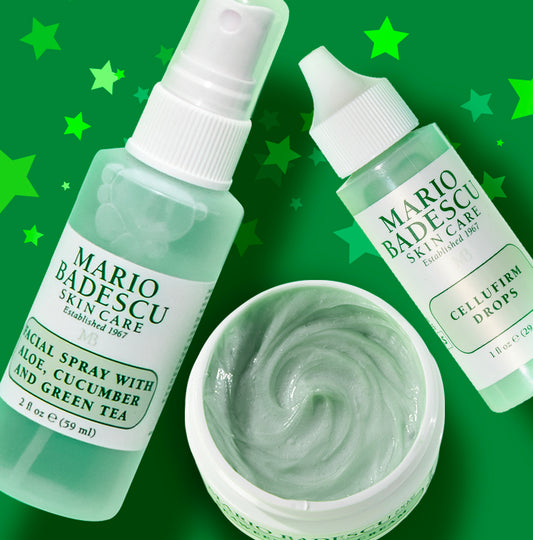
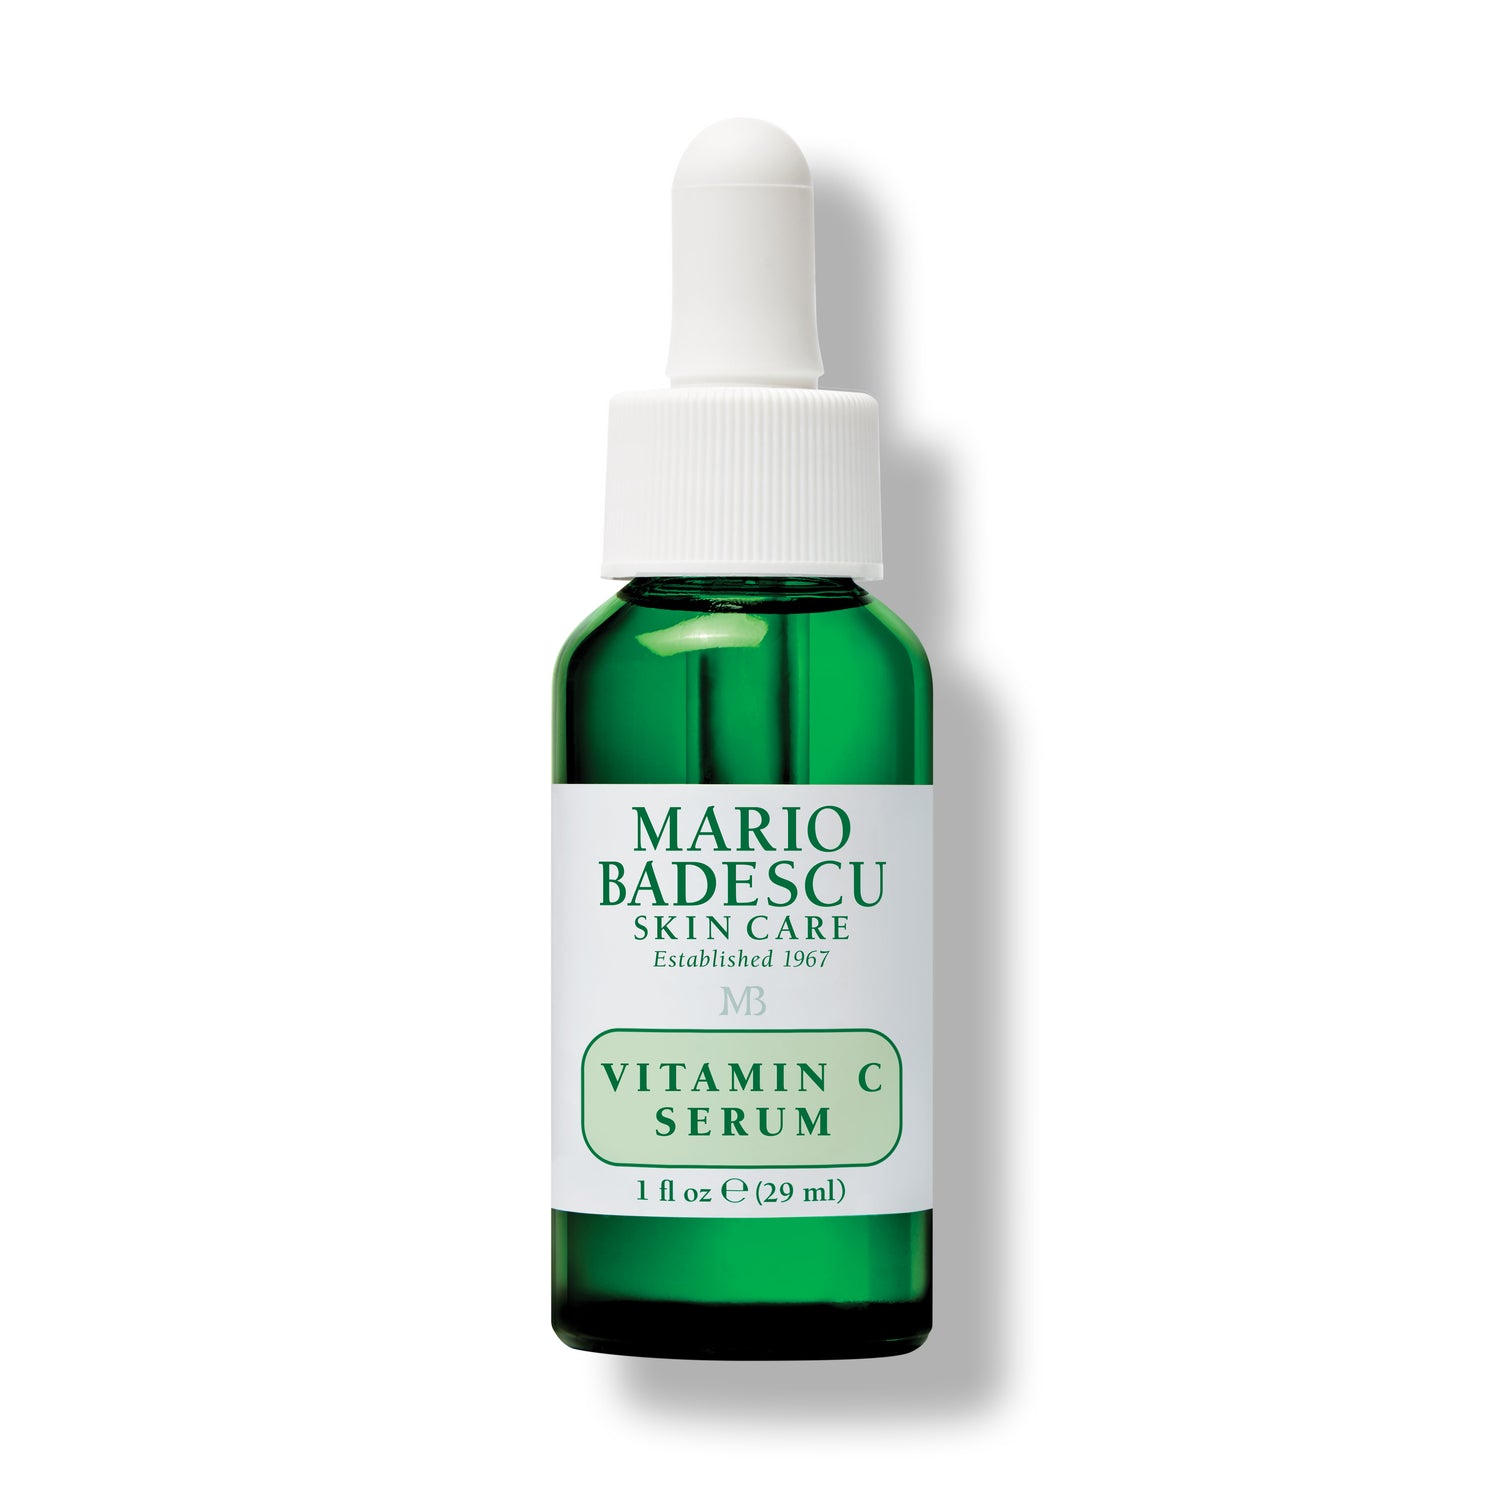
#Selfie optional. But first: follow with toner and your favorite serums and/or face creams, then finish with a liberal misting of your favorite facial spray.