There's something about having beautifully manicured nails that just makes you feel good, isn't there? It's that last detail that pulls together an outfit and the very act of grooming your nails can feel like a treat. While we love getting manicures, tight schedules (and budget concerns!) necessitate a little at-home nail service from time to time. And really, what's more fun than putting in a favorite DVD and doing your nails? So here it is: our guide to the perfect at-home DIY manicure!
Our favorite girls'-night movies>
What You’ll Need:
-
 A bowl of warm water
- A Scrub
- Cuticle Stick
- Cuticle Cream
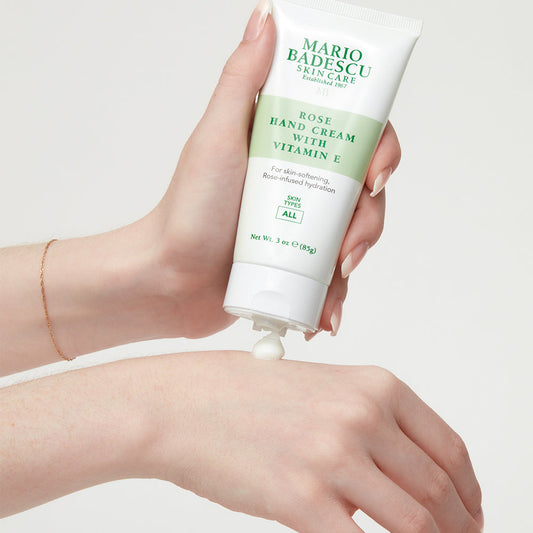
- Hand Cream
- Hand Towel
- Nail File
- Nail Polish Remover and Cotton Balls
- Nail Polish of your choice
What To Do:
- Start off by washing your hands thoroughly.
- Remove existing nail polish (if you have any) with nail polish remover and a cotton ball. PRO TIP: Swipe nail polish remover on nails even if your nails are bare at the start; this will help remove any lingering oils or dirt.
- Cut and file your nails until they are even and shaped neatly. PRO TIP: Never saw back and forth with a nail file. Instead, stroke the nail with the file in the same direction to avoid tearing the nail.
- Apply a scrub on your hands and soak them in warm water in the bowl.
- Pat dry your hands with the towel.
- Apply a basecoat to help nail polish adhere better.
- Paint your nails with a polish of your choice, applying two coats. PRO TIP: Allow enough time for the polish to dry between coats. This will help prolong your manicure. Two properly dried, thinner coats of polish will last longer than one thick layer, so be sure not to apply too much at once.
- Apply a topcoat to prolong your DIY manicure.
- Once your nails are completely dry, be sure to apply hand cream to keep your beautiful appendages soft and radiant! Keep the cuticles soft and hydrated with a cuticle cream in between manicures.


