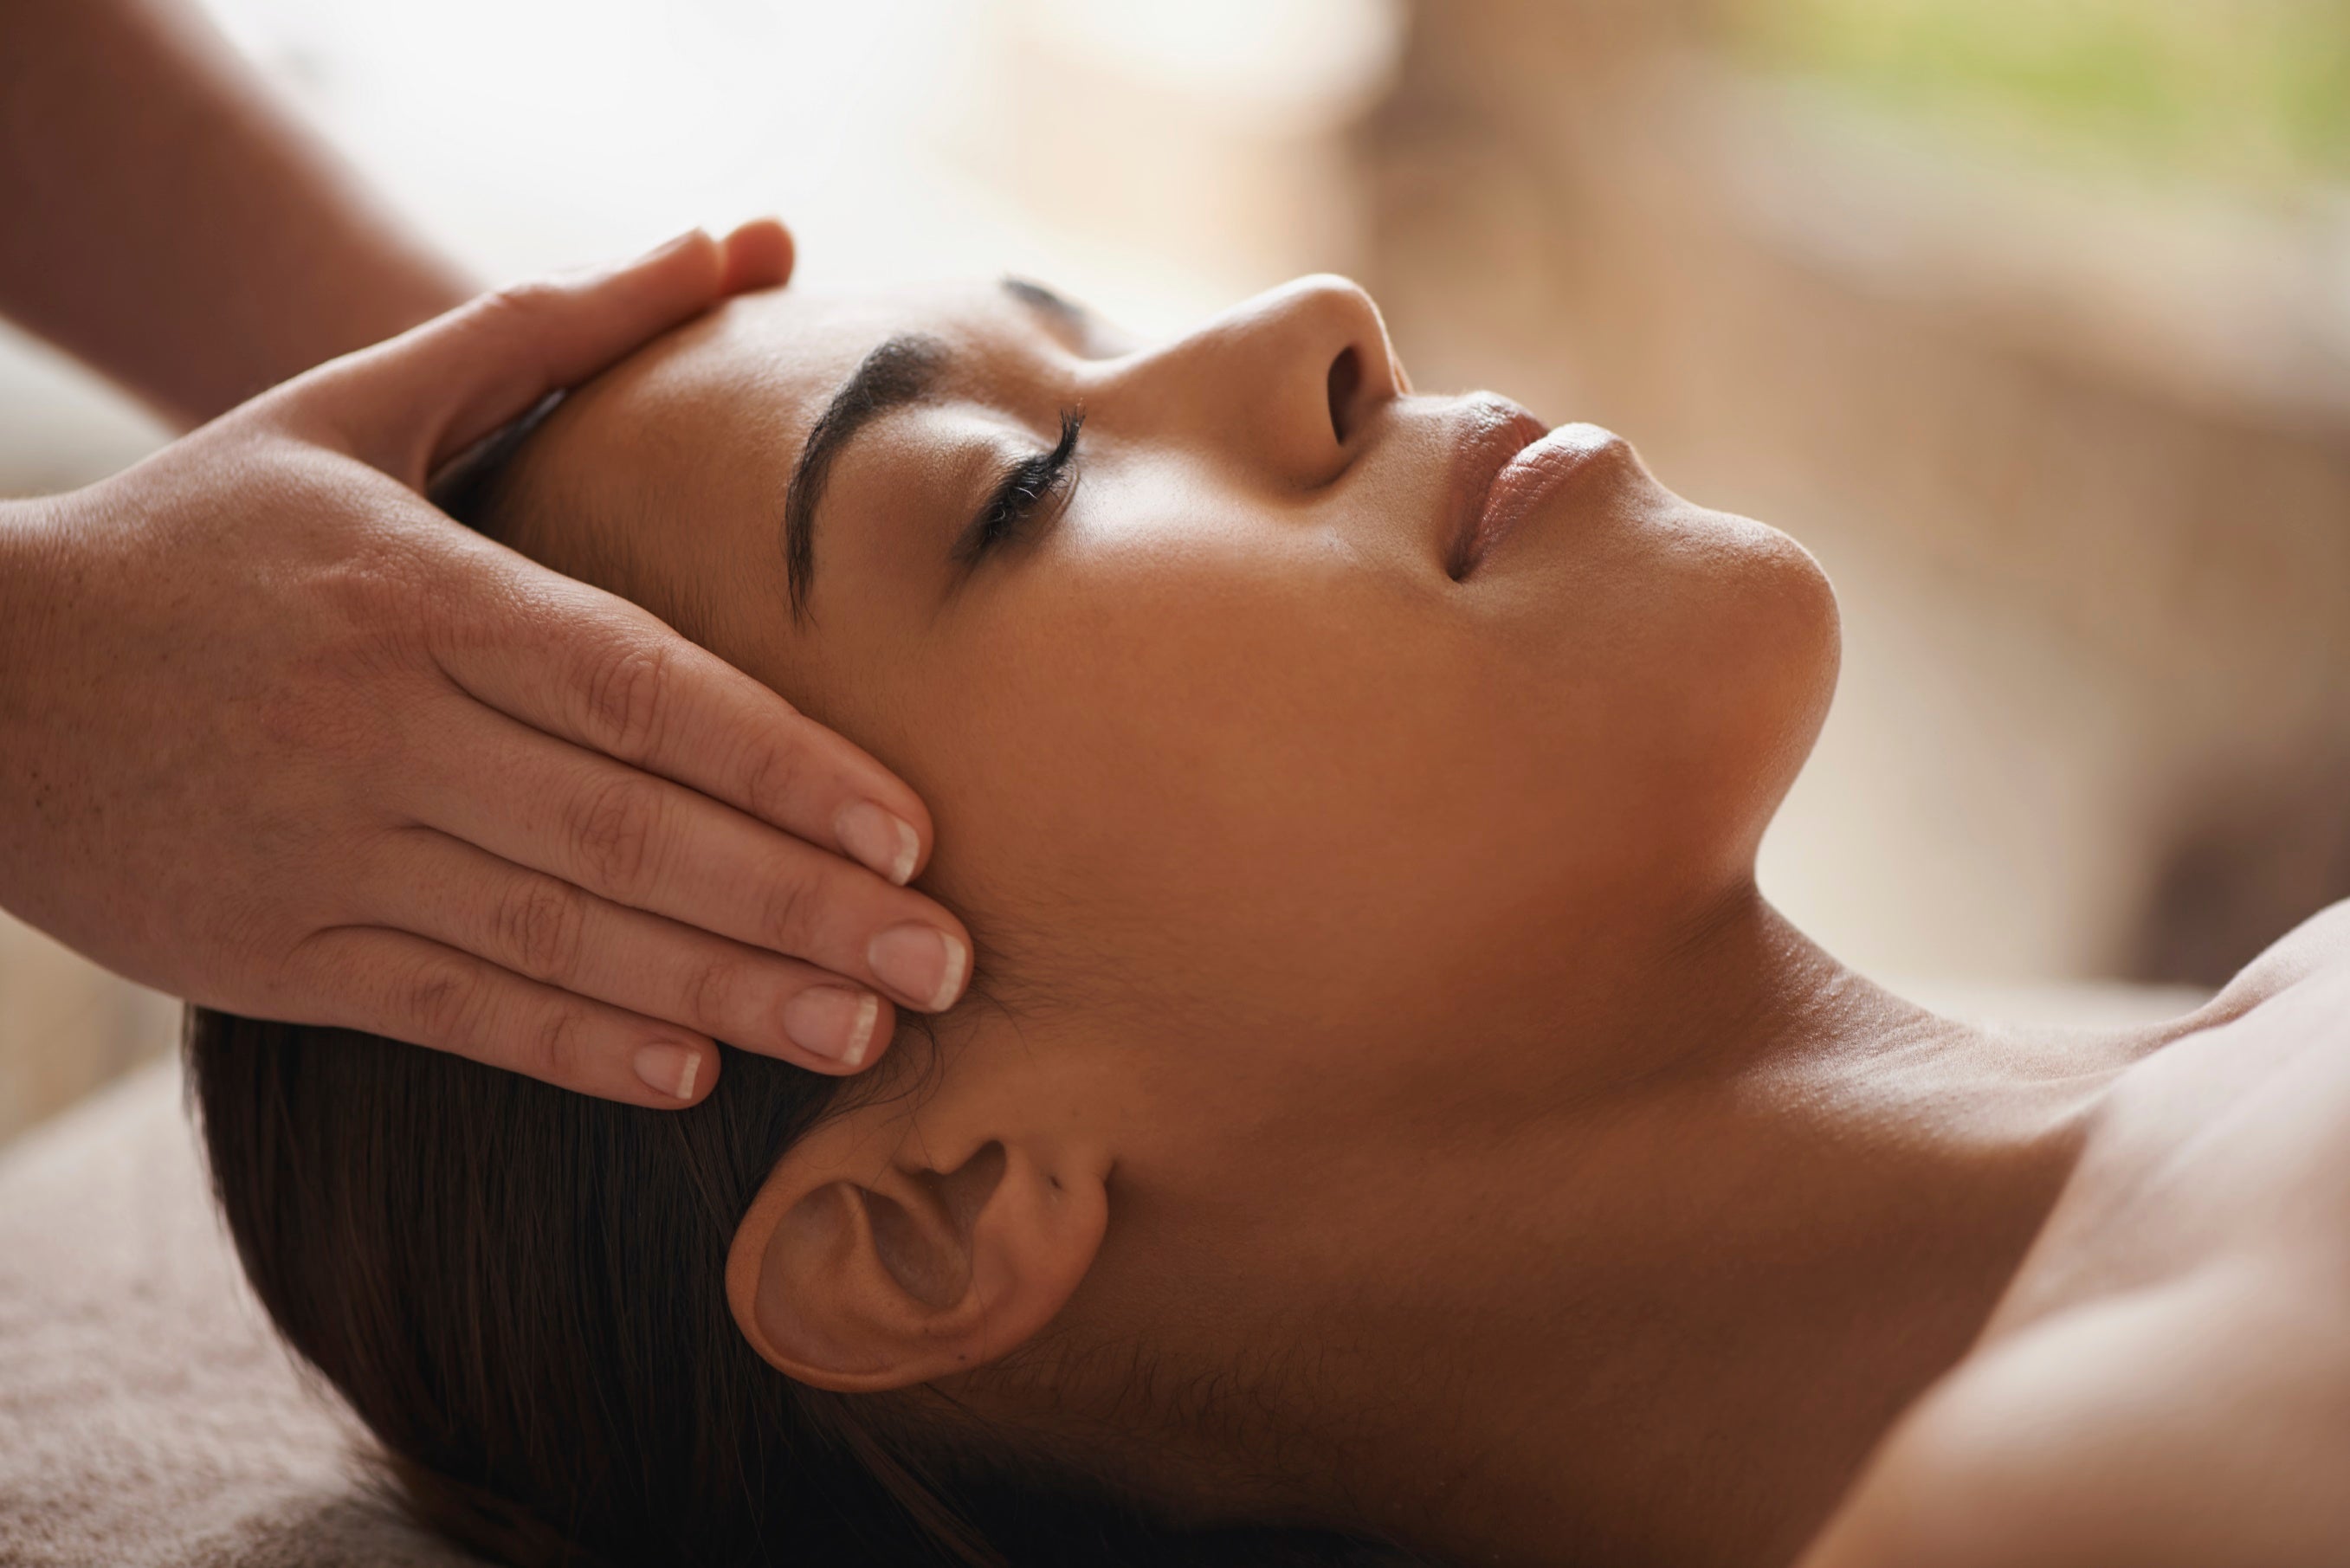
When I was training to be an aesthetician, one of my favorite parts of school were the facials. As students, we were required to perform facials on our fellow students (and, later, on real-life clients), which meant that we acted as both facialist and guinea pig for quite some time. This meant getting a lot of facials. My favorite part? All that facial massage. Even now, I add a little facial massage to my daily routine between professional facials. And why not? Not only does it feel amazing, it’s also really good for your skin. If you’re just putting skin care products on your skin with no thought to their physical application, you’re really missing out. For one thing, massage increase circulation, bringing oxygen and nutrients to the skin while helping to whisk away waste products. It also assists in product absorption and sends relaxing signals to your brain. You can use facial massage when cleansing your skin or applying moisturizers, night creams, or protective creams. Start by making upward motions on your forehead with the middle and ring fingers of each hand. (Use the pads of your fingers, curving the fingers upward to keep your nails away from your skin). Then, make little circles with your fingers, working outward from the middle of your forehead to your temples. Slip your fingers down the sides of your face and make little circles on your cheekbones (this feels especially good when you’re congested!), working from the temples toward your nose. Then, go around and around your eyes a few times, being careful not to get anything actually in your eyes. Now, take your middle finger and swoop back and forth on the skin under your nose. Finally, use the pads of your thumbs to massage product into your chin. Don’t neglect your neck, either! Make gentle upward motions with your hands, again using your middle and ring fingers.
Related Articles
-

Glowing Skin in NYC: A Review of the Mario Badescu Facial
If you're looking for the best facial NYC has to offer, look no further than the Mario Badescu Skin Care Salon! I recently received the most luxurious 60 minute European...
Salon
Glowing Skin in NYC: A Review of the Mario Badescu Facial
If you're looking for the best facial NYC has to offer, look no further than the Mario Badescu Skin Care Salon! I recently received the most luxurious 60 minute European...
Read More
1
/
of
3


